
Creating presentations is a daily occurrence for many of us – whether at work, at university or when preparing for an important speech. Despite the ubiquity of PowerPoint, not everyone feels comfortable spending long hours arranging slides, which often remain just static graphics full of text, evoking no emotions in the audience except… yawning. But what if there were ways to make your presentations not only faster, but also delight the audience and leave an unforgettable impression? PowerPoint has a number of interesting features that can transform a boring summary of facts into a stunning story. In the next blog post from our "#Top5" series, you will discover five brilliant PowerPoint features that will change the way you create and present your data and materials. These little tricks will save you valuable time, and at the same time make your slides less predictable and gain a professional character that will impress even the most demanding audience.
This post is the fourth in the series "#Top5", in which I present useful and interesting features in Microsoft business applications. After five features in Word, all of which you certainly did not know, tricks in Excel and new features in the new Outlook, it is time for a tool that not everyone is in love with. I am talking about Microsoft PowerPoint, which allows you to create presentations. Do you have a problem with the visual layer, like me, and would like your presentations to impress your recipients? If so, these five features will definitely help you with that.
Remove the background of a picture
Have you ever wanted to add a graphic to a presentation, but it had a background? What did you do then? I assume you were looking for a tool that would help you remove the background. Interestingly, the feature of removing the background of a picture is a "built-in" option in PowerPoint. Therefore – you don't have to waste time looking for software that will remove the background for you, you can do it in PowerPoint. How?
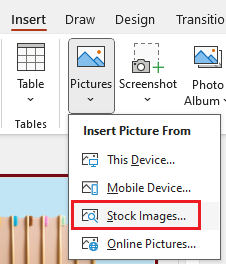
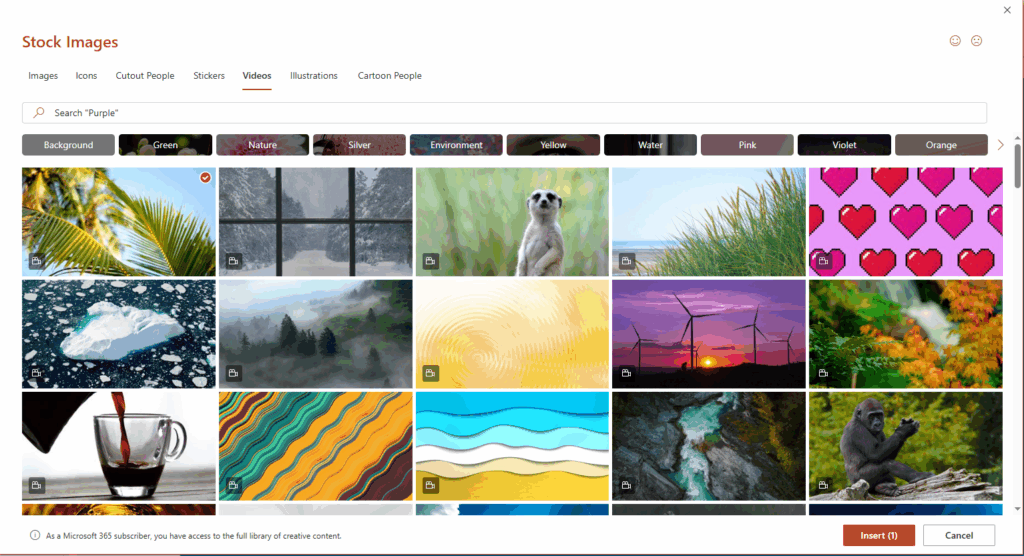
- Add a graphic to the slide – click the "Insert" tab, select "Pictures" and then "Stock Images…". Did you know that as part of your Microsoft 365 subscription you have access to a database of graphics that you can use – and all this without leaving the tool?
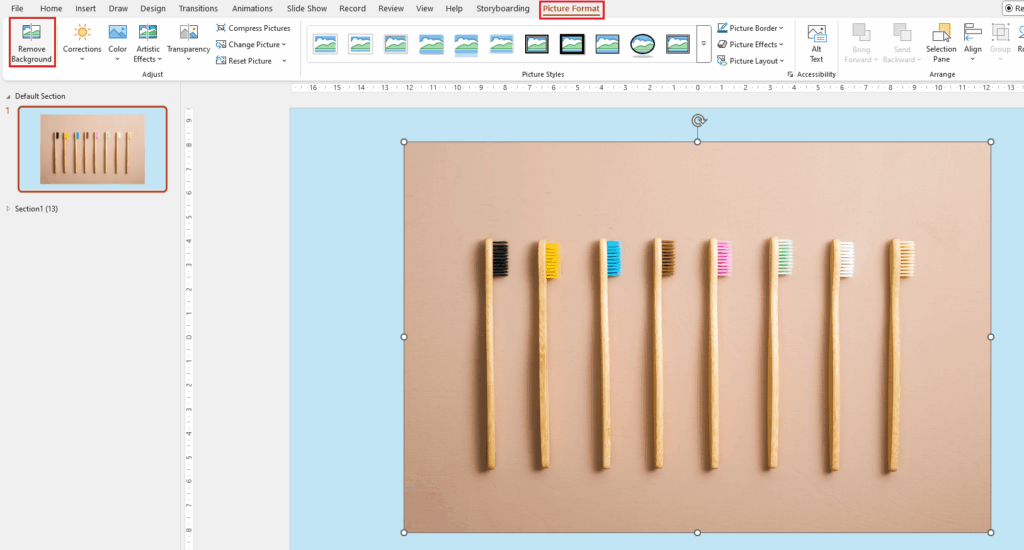
- Next, with the image selected, click "Picture Format" and select the "Remove Background" option on the ribbon:
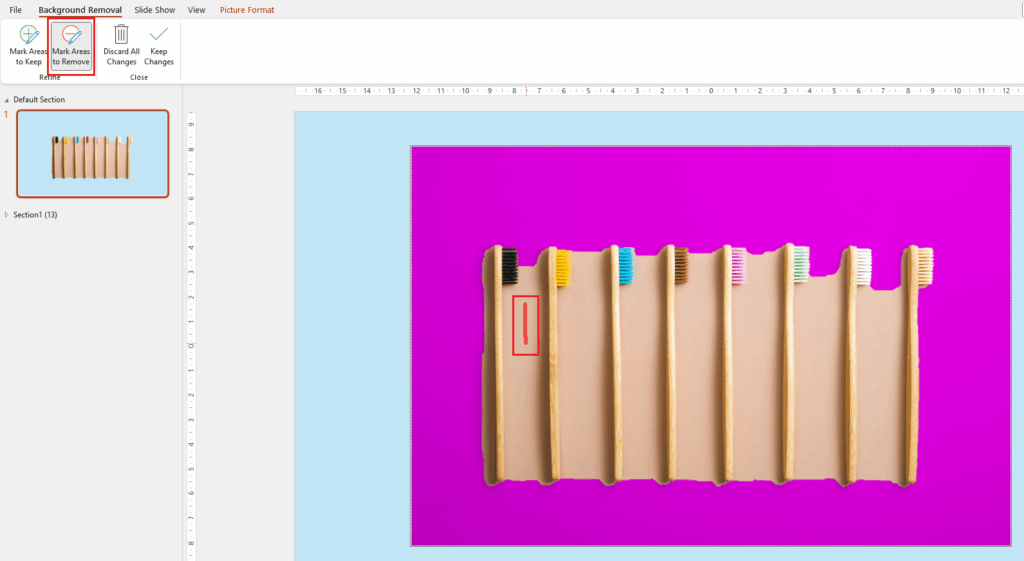
- This will remove the main part of the background (purple in the screenshot) and new options will appear on the ribbon. You can now, for example, click "Mark areas to remove" and then, on the graphic, mark what to remove – in my case, I drew a vertical line between the first and second brush...
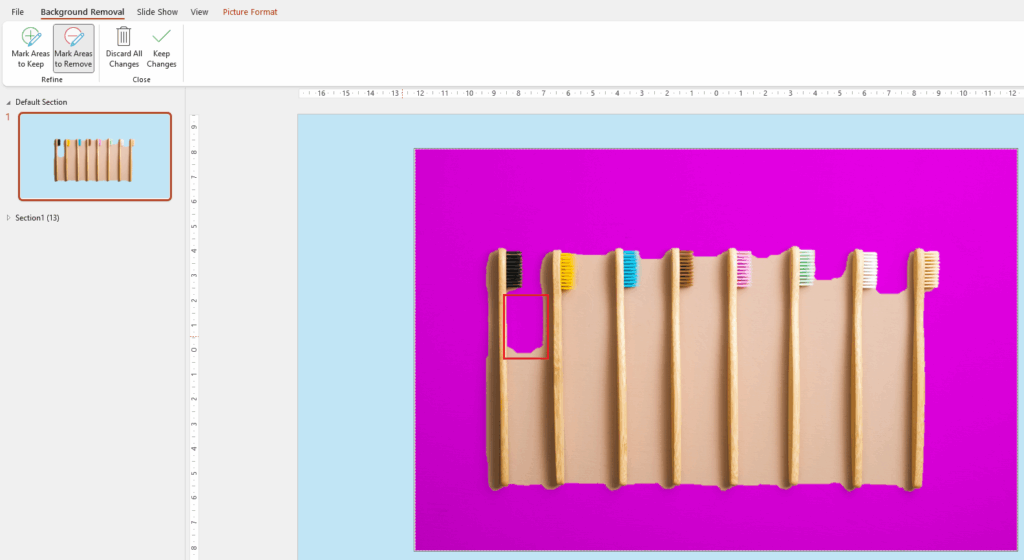
- … and after a moment PowerPoint removed part of the background. Now all you have to do is select what to remove or what to keep:
Aligning the objects
The second feature is for people who like all the elements on the slide to be even, straight, and perfectly spaced. I wonder how many times you struggled with this, moving the mouse slightly to one side or the other? I'm talking about aligning the objects feature that we have on the slide. It's easiest to explain this with an example.
- While in PowerPoint, click the "Insert" tab, then "Shapes" and select, for example, a rectangle:
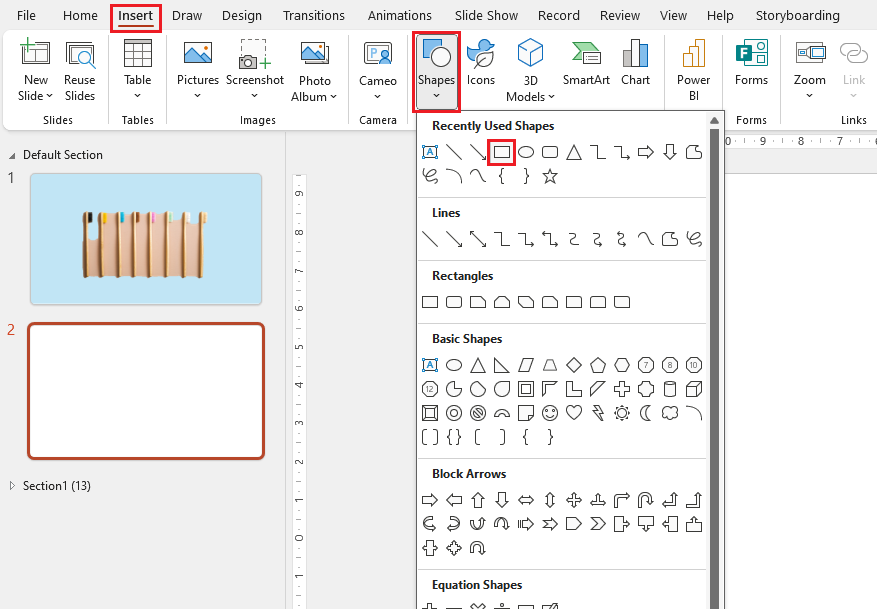
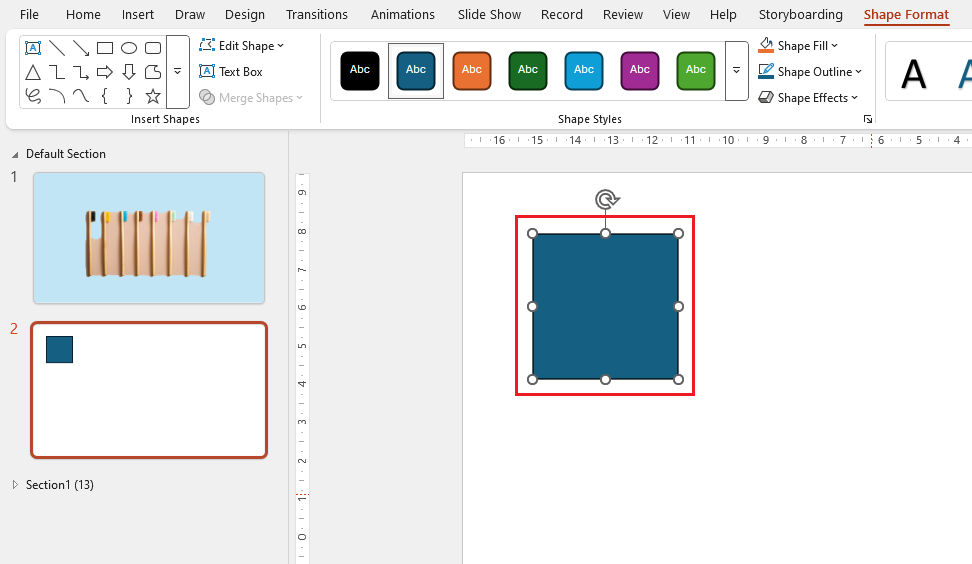
- ProTip: when drawing/ inserting a shape, hold down the Shift key so that it comes out perfectly even (in our case, it will be a square):
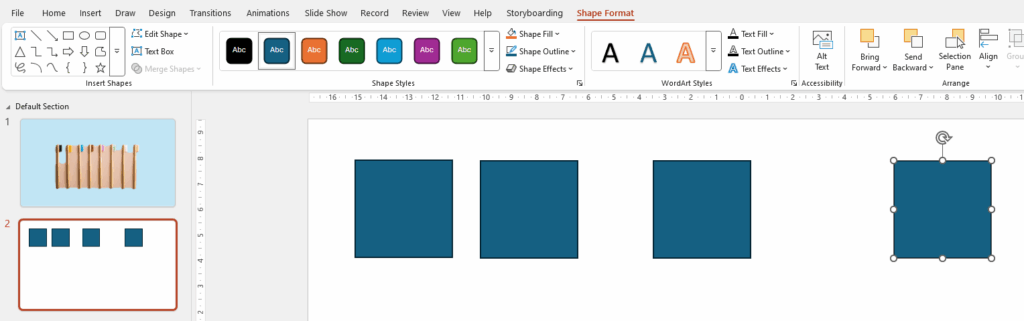
- Next, copy the shape so you have 4-5 squares and place them next to each other – you don't have to keep them evenly spaced:
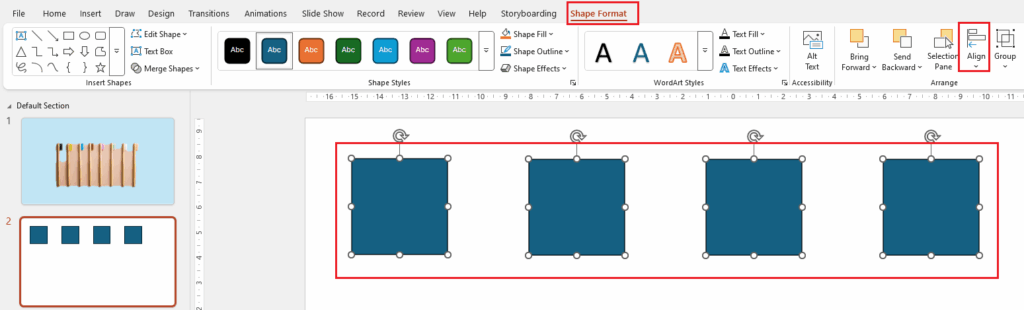
- To align the squares so that they are the same distance apart, select them, click the "Shape Format" tab, then "Align" and "Distribute Horizontally":
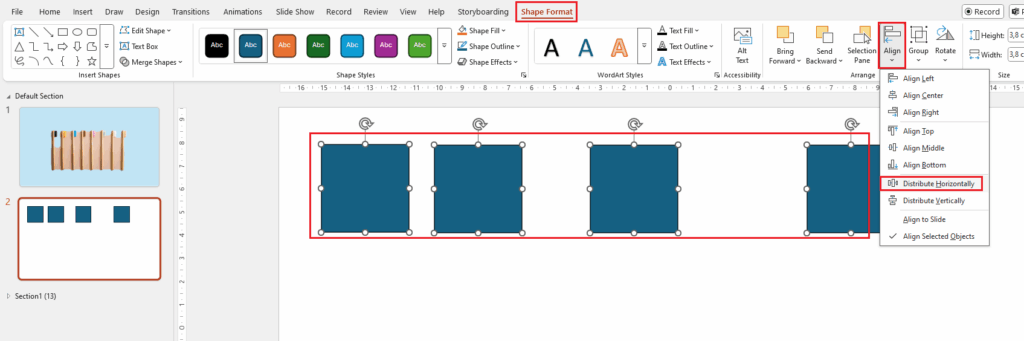
- As you can see, the squares are evenly spaced. Test, test, and test the "Align" option instead of laboriously manually setting the distance between inserted objects:
Merge shapes
This time something more interesting. It's about merging shapes. Using this feature allows you to get really interesting effects in terms of the shapes you create or the way you display information. Let's get to the point:
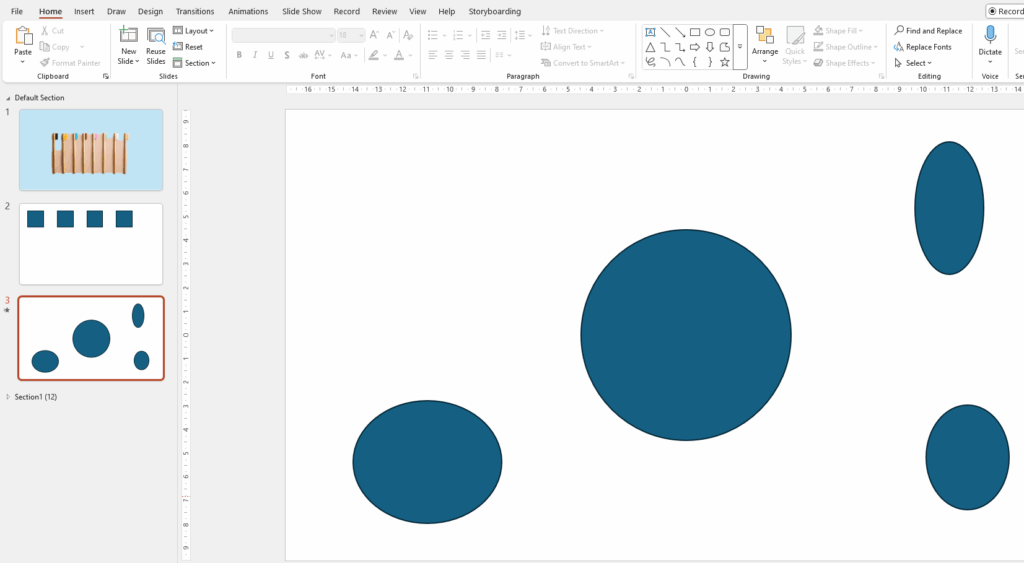
- On an empty slide, insert various shapes – they can be like the ones shown in the screenshot. You don't have to keep the proportions, size, etc. – you'll see in a moment:
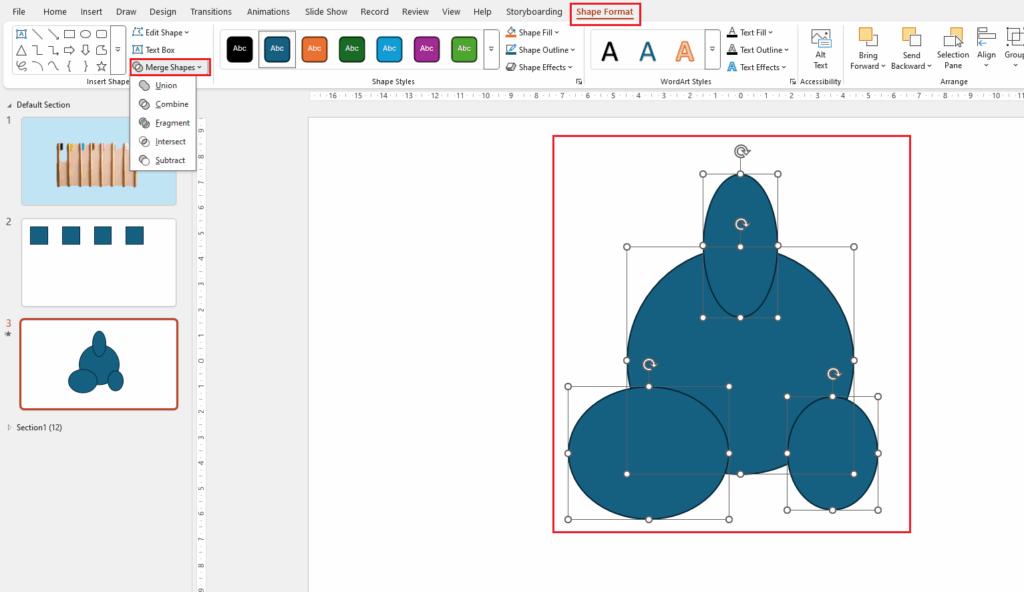
- Next, overlay – in any way – smaller shapes on the largest one, select all, click the "Shape Format" tab and "Merge Shapes":
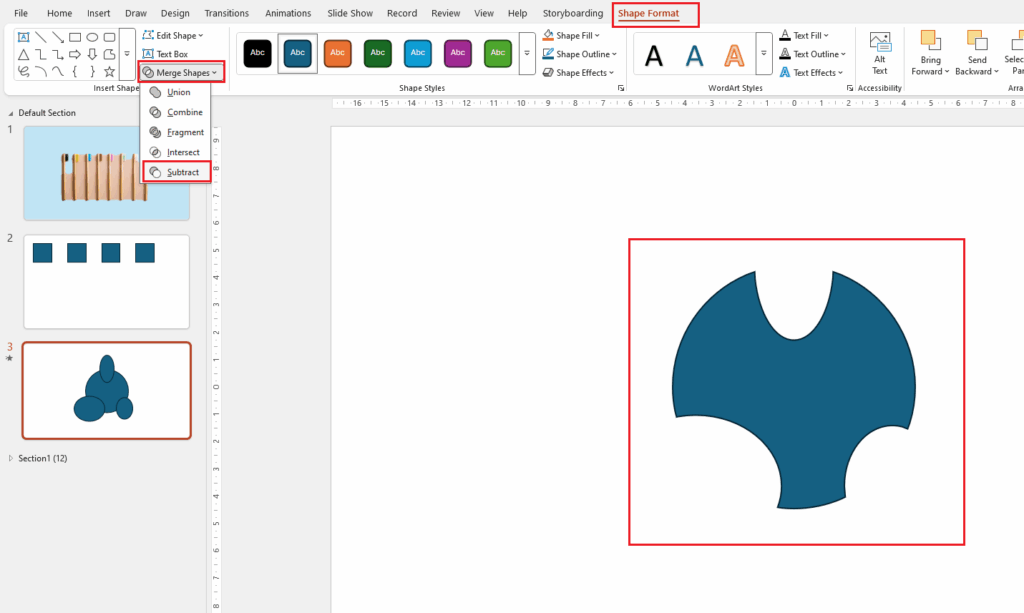
- As you move between the options, you'll immediately see the effect on the slide. For example, for the "Subtract" option, my shape looks like this:
You can also get an interesting effect by combining the feature with video.
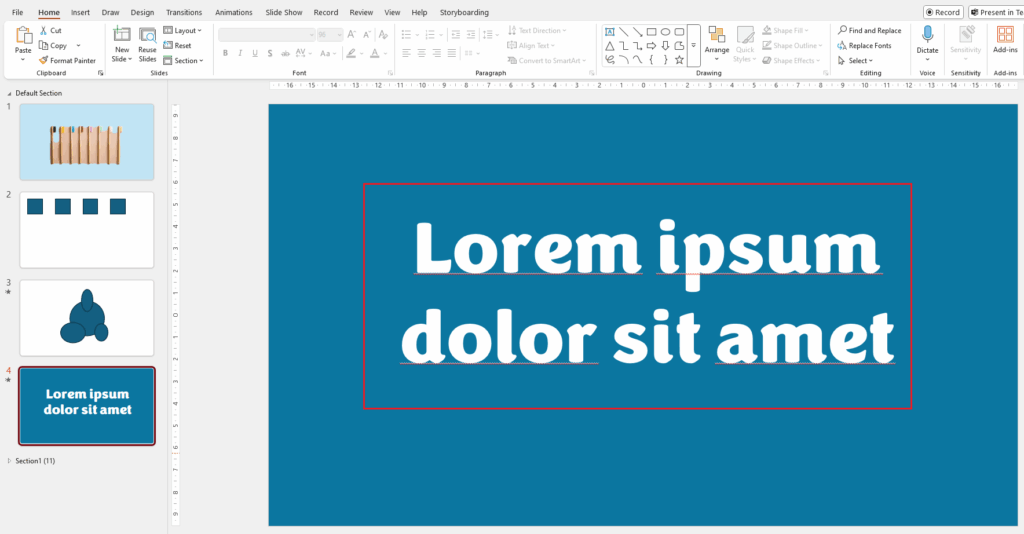
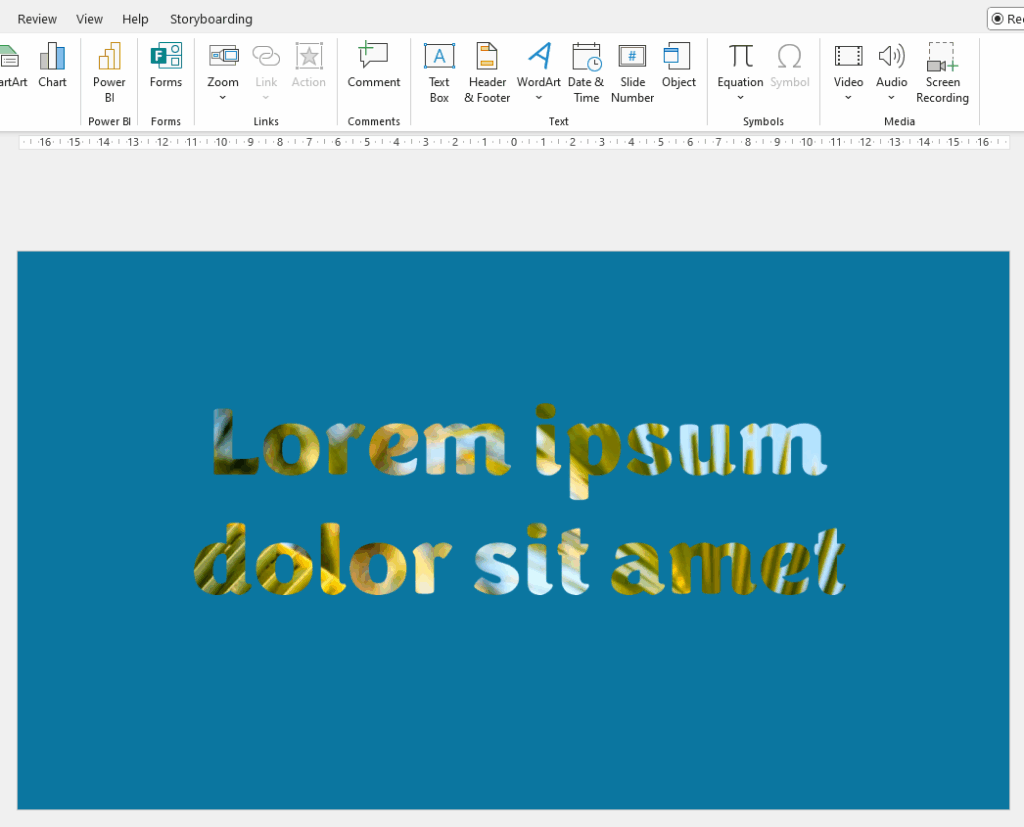
- Enter large text on the slide. The key factor here is the font – it needs to be quite thick for the effect to be visible. White text on a colored background works best:
- Next, click on the "Insert" tab, then "Video" and "Stock Videos…":

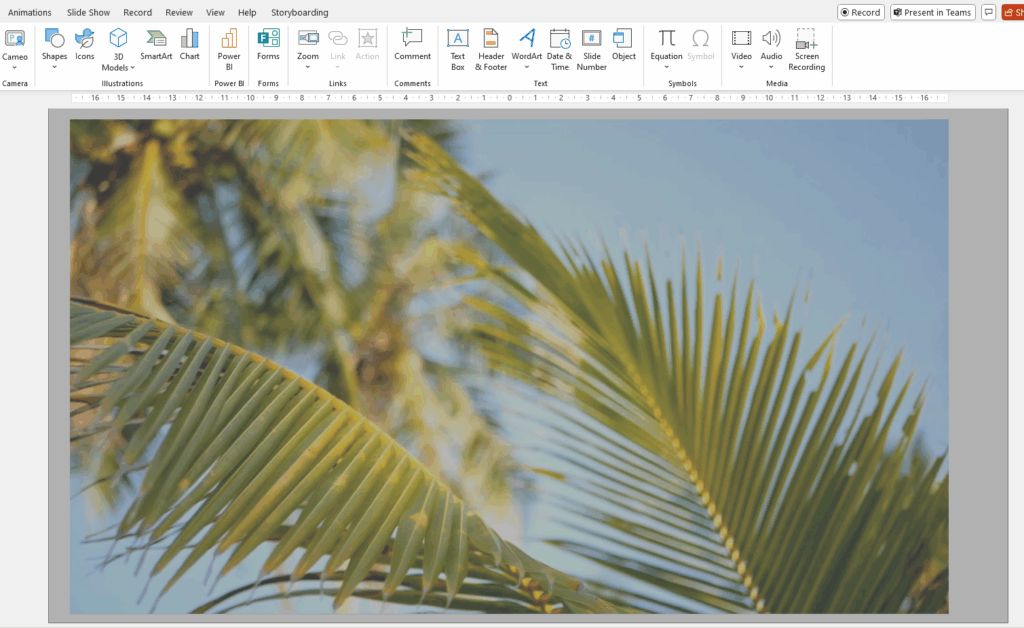
- Choose sample and click "Insert":
- Next, select all the items on the slide…
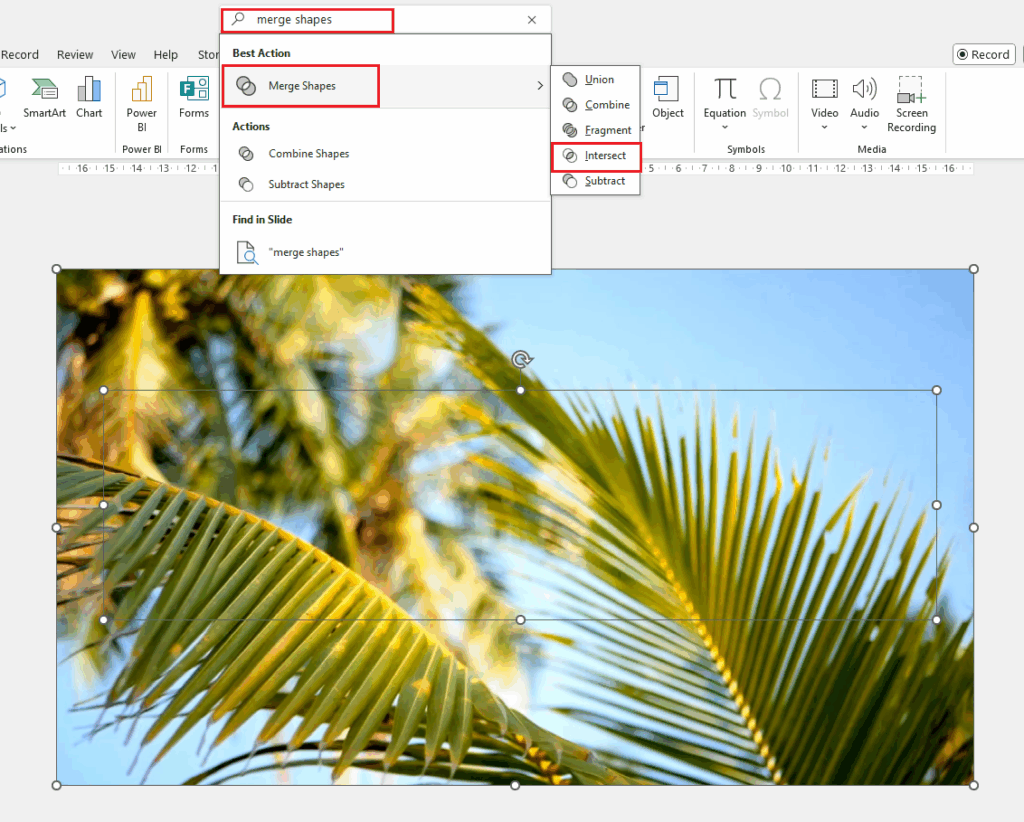
- …and type, in the search box, "Merge shapes", select the option that was found and click on "Intersect":
- The effect will be that the selected video will appear under the entered text and can be played:
Push transition
It may seem like nothing special, but I bet you don't often use this type of transition for a date scenario. It works perfectly in this case – when you want to present a timeline. It's worth considering a push transition between slides. Why? Check it out!
- Let's say you want to present several important dates from the company's history and each of them is on a separate slide:
- Select them all, click on the "Transitions" tab and choose "Push" and change the transition effect by choosing "Effect Options -> From Right":
- Test the effect you have set – I am sure, you will be satisfied.
Morph
Let's stay for a bit longer in transitions area – have you heard of the so-called morph, or smooth transition? It can be combined with 3D models, which literally bring the content of our slides to life. Let's start from the beginning – with the principle of smooth transition. To do this, prepare two slides:
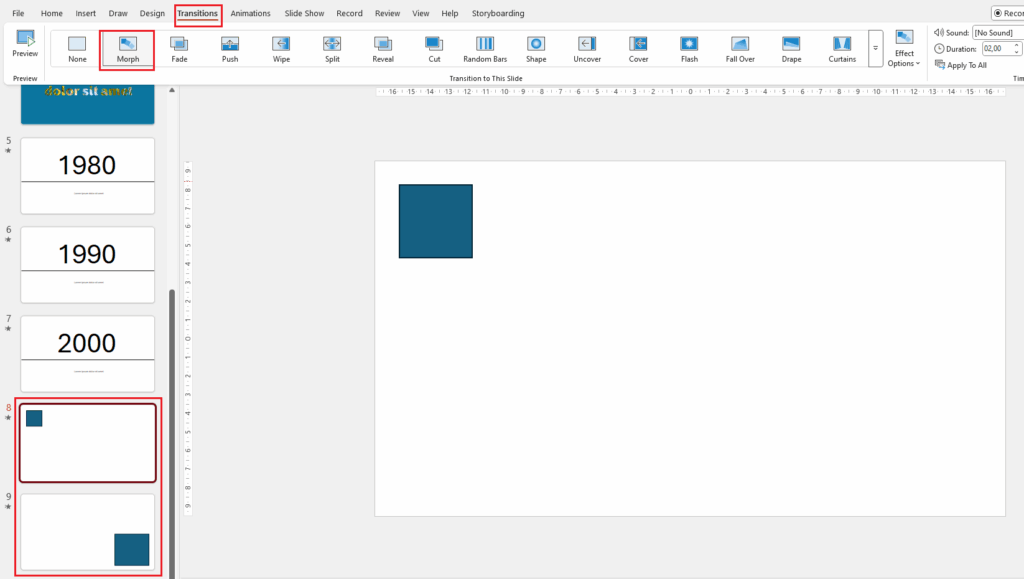
- first with a small square in the upper left corner of the slide,
- second with a larger one in the lower right corner of the slide.
Next, select both slides, click the "Transitions" tab and choose "Morph". Interesting, isn't it?
As I mentioned – it looks even better when we combine this feature with 3D models. To do this:
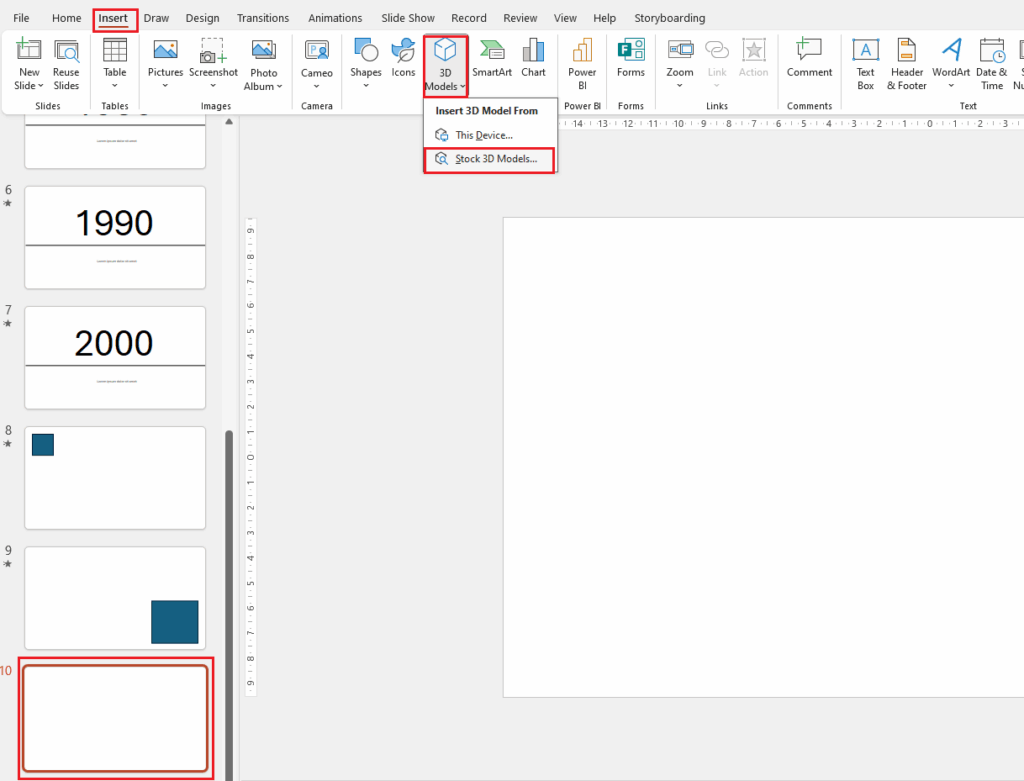
- Create a new slide, click the "Insert" tab, then "3D Models" and "Stock 3D Models..." and choose the model you are interested in by selecting it and clicking "Insert":
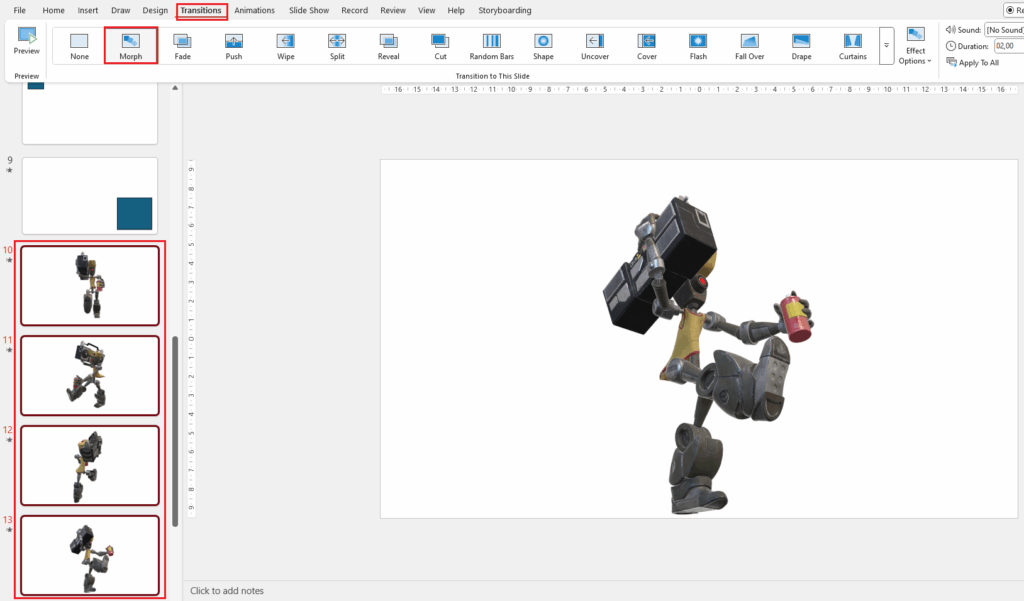
- Then, copy the slide so that the inserted model is on 4-5 of them. On each slide, rotate the model so it is in a different position than on the previous one. After that, select all slides, click the "Transitions" tab, choose "Morph" and you're done. While changing slides, we have the impression that the model "came to life" and moves:
Bonus – real-time questions and answers
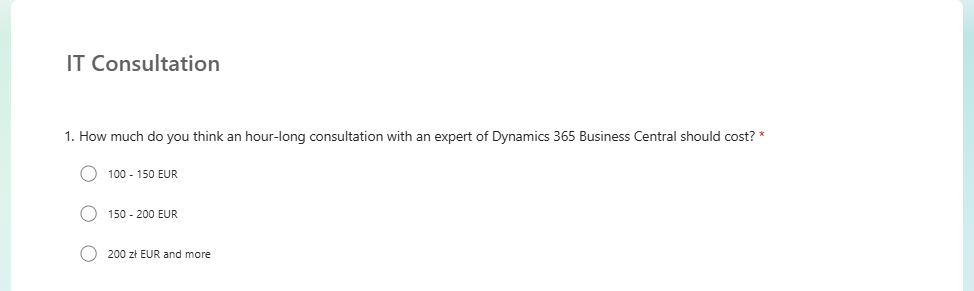
I have one more feature for you. I once needed such a solution myself and I won't hide the fact that I used a third-party solution. And here you go – you can already achieve this by having a Microsoft 365 subscription and "harnessing" two tools: PowerPoint and Forms. The idea is to display answers to questions in real time. When giving a presentation, it is worth interacting with the audience and asking them questions. Everyone would certainly like to see how others answered. To do this, prepare a form with a question and answers in Microsoft Forms:
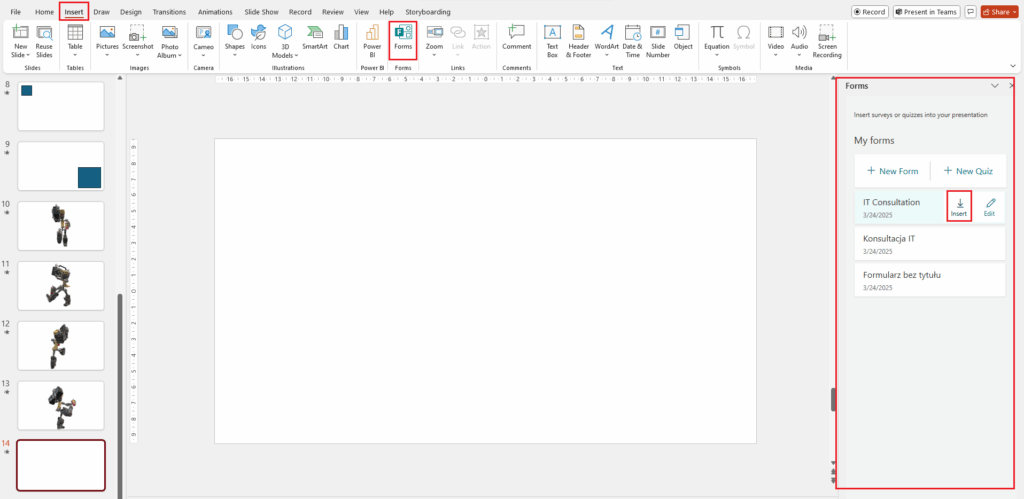
In the next step, add a blank slide to the presentation, click the "Insert" tab, select "Forms". This will bring up a window on the right side of the screen with the forms you created in the Microsoft Forms. Click "Insert" next to the one you want to add:
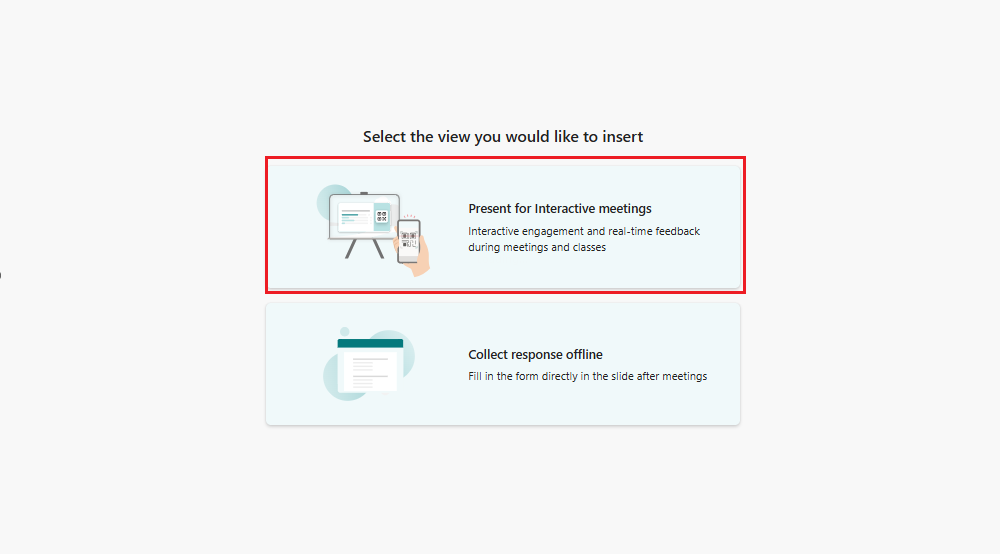
Next, click the option "Present for interactive meetings":
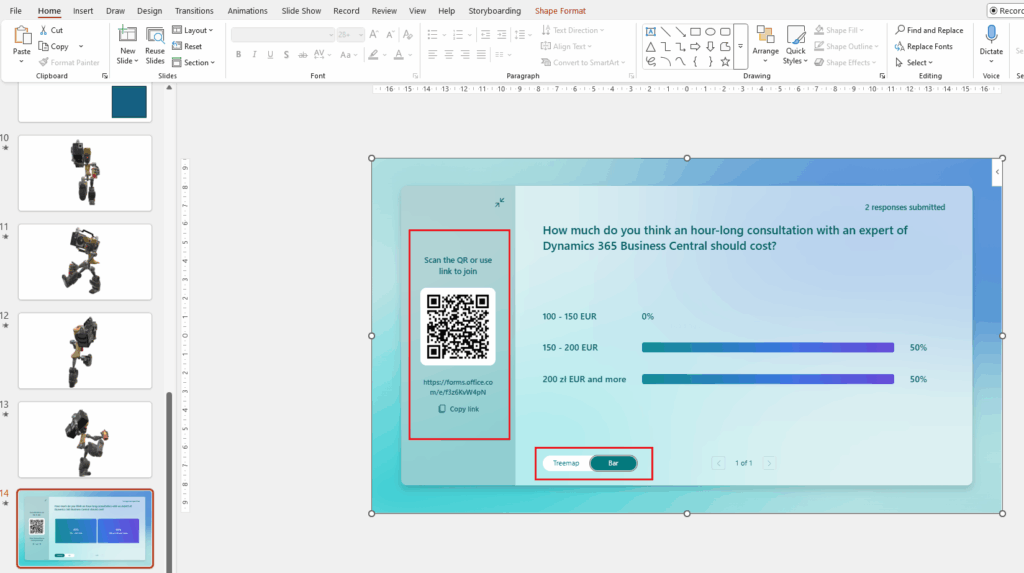
This will show the answers that have already been provided to the added form, which can be presented in a bar or treemap format. In turn, for the presentation participants to answer the displayed question, they only need to scan the displayed QR code:
Do you want to talk about the presented features, do you have the impression that they do not work properly for you or are you curious about what else Microsoft PowerPoint hides? Do not wait, contact us and arrange a free consultation with our expert, who will provide you with the necessary information. Oh – and do not forget to follow the next blog posts from our "#Top5" series.
